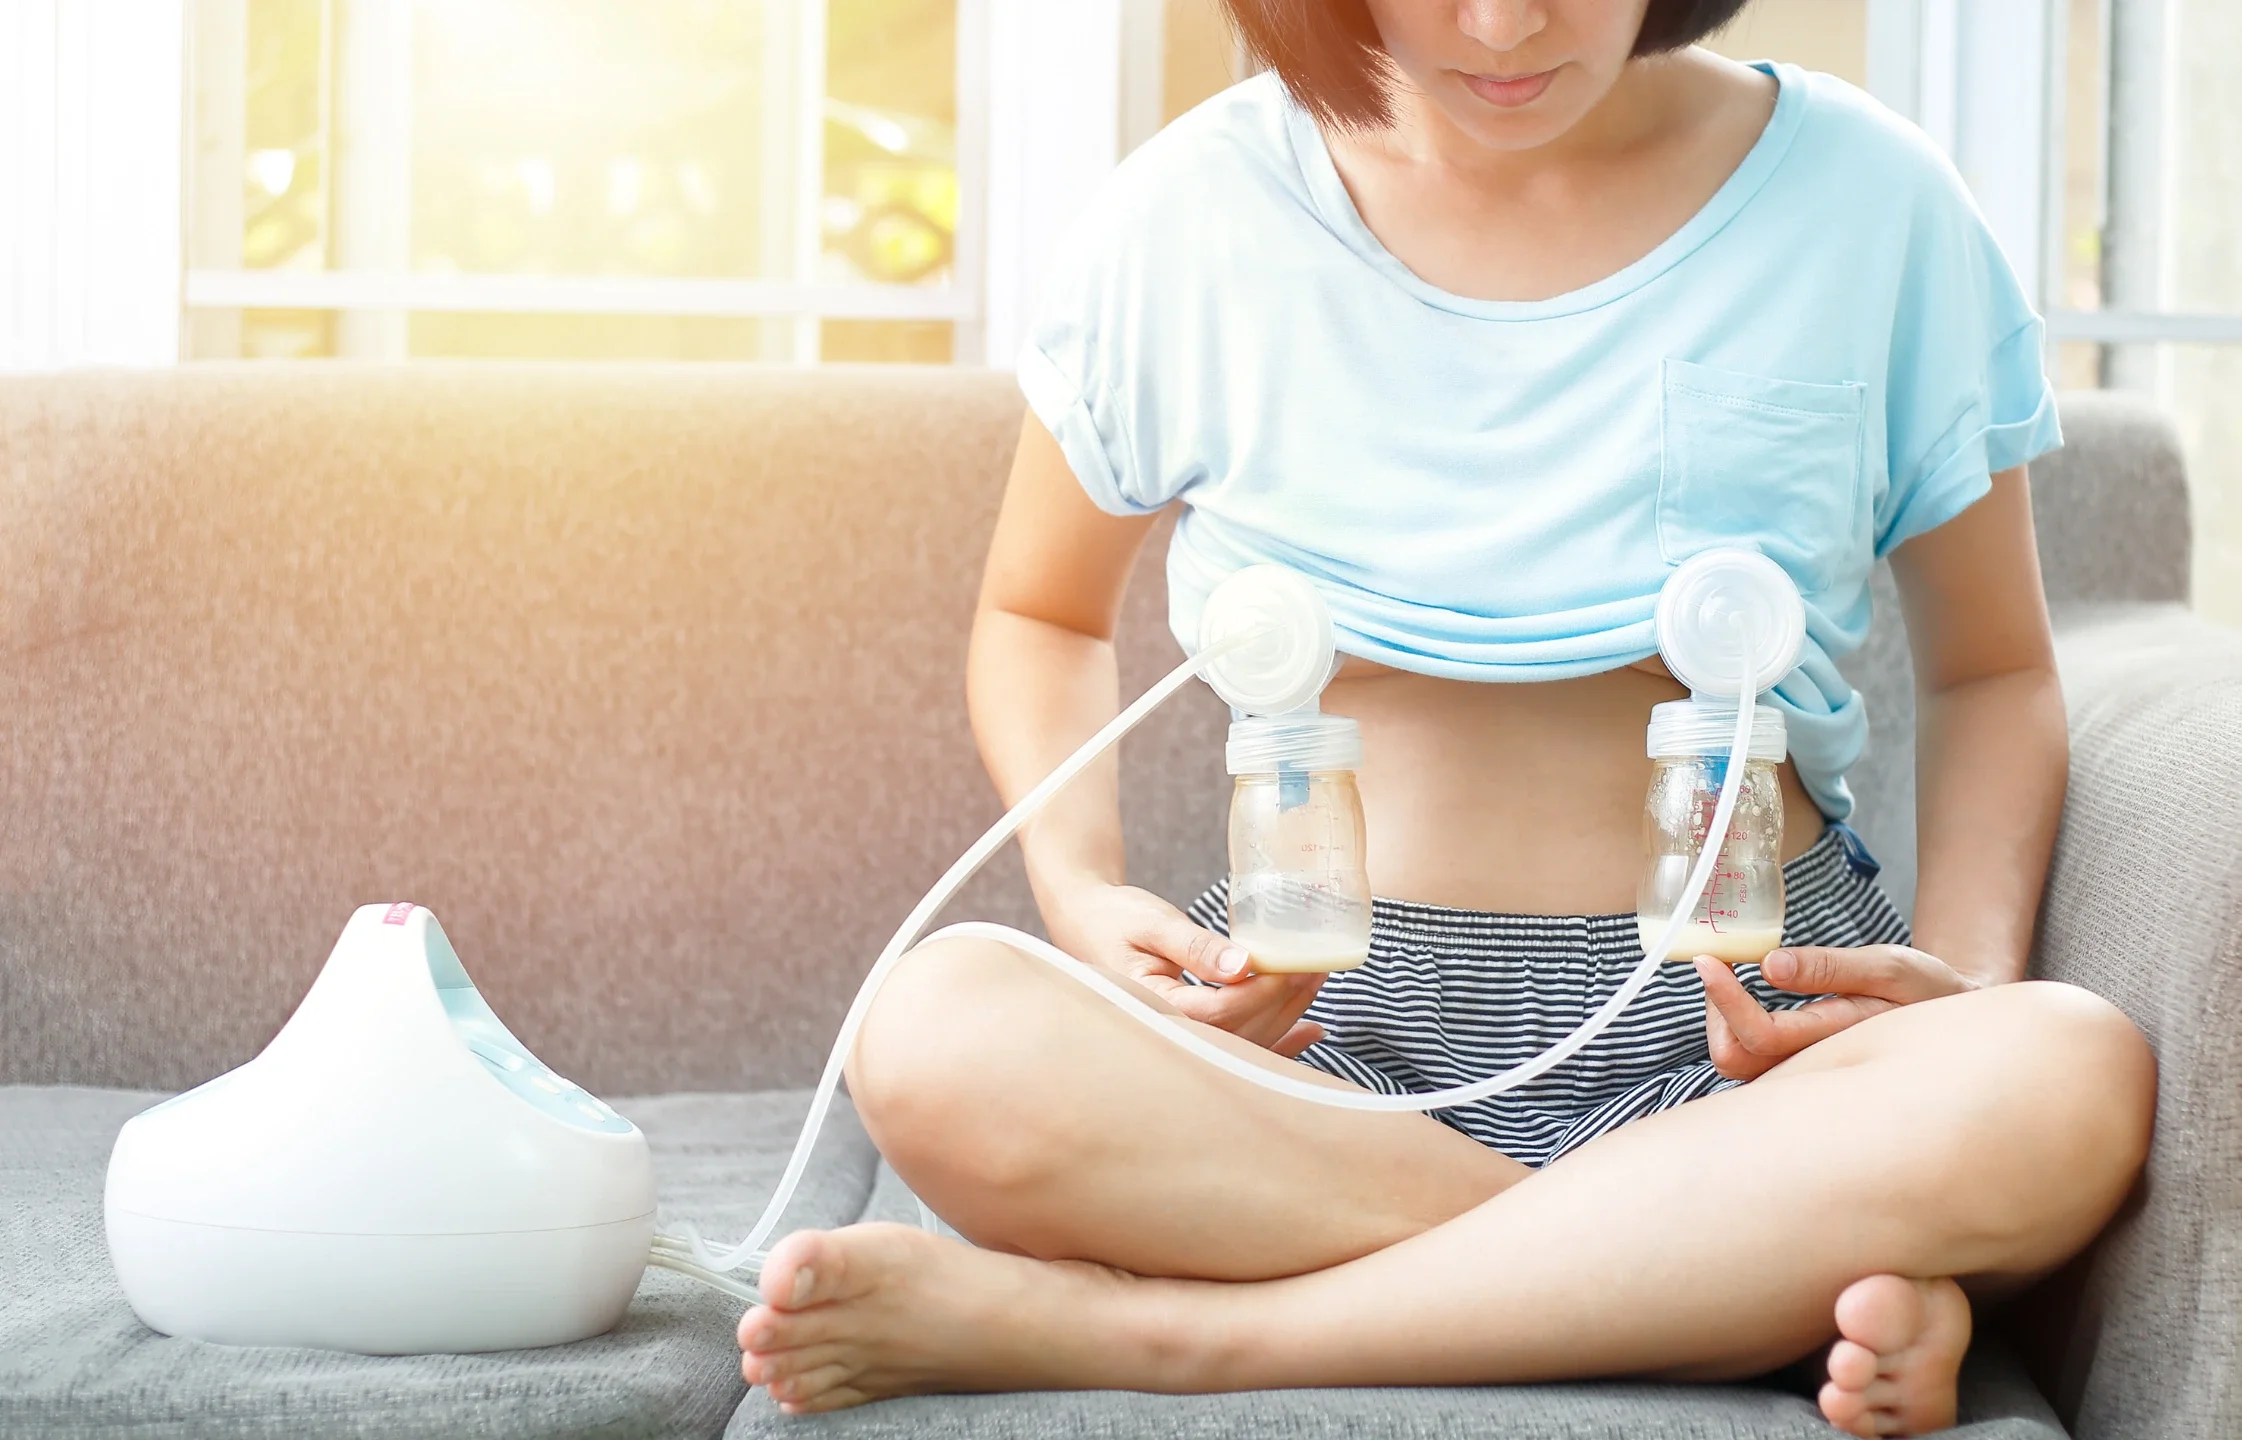
Pumping & Milk Storage
Pumping doesn’t need to be noisy or painful — comfort first, always.
Pumping can be a helpful bridge — a way to protect supply, share feeds, or build a small freezer stash for sleep or work. It doesn’t have to be noisy, painful, or complicated. With the right fit and a simple routine, most parents collect what they need comfortably and safely. This guide walks you through when to pump (and when not to), how to size your flanges, how to clean kit, and UK‑aligned storage guidance so your expressed milk stays safe and potent.
When should I pump?
Common reasons
Medical or separation needs (NICU/SCBU, baby not latching yet, jaundice management under guidance).
To share a feed with a partner/carer.
To build a small buffer for sleep stretches or appointments.
Ahead of returning to work (usually 2–3 weeks before, not months).
When you don’t need to pump
If breastfeeding is comfortable and baby is growing well, your body already matches supply to demand. Early, routine pumping can create oversupply and clogged ducts.
Good moments to add a pump
After the morning feed (when supply is often fuller).
If baby takes one side only, pump the other.
During a regular daily window (consistency helps let‑down).
Hand expression vs pumps
Learning hand expression is useful from day one — it’s quiet, free, and brilliant for softening a full breast before latching or collecting small top‑ups. Combine it with pumping if you like.
Pump types
Manual: silent, portable; best for occasional use.
Electric (single/double): efficient for routine use; double saves time and increases prolactin peaks.
Wearables: great for mobility; collection can vary; still need correct flange size and full cleaning.
Flange sizing & comfort (the make‑or‑break bit)
Measure the nipple diameter (not including areola) after a feed/when relaxed; add ~1–3 mm as a starting size.
Signs your size is too big: excessive areola pulled in, rubbing/redness, low output.
Signs it’s too small: friction/pinching, blanching/whitening, sore rings.
Use a food‑safe lubricant (drop of sterile water or breast milk) on the tunnel edge to improve seal and comfort.
Start with a gentle stimulation mode, then move to expression. More suction ≠ more milk; aim for comfort.
Pumping plans for common scenarios
Occasional bottle (1 feed/day or a few per week): pump once daily after the morning feed for 10–15 minutes (or until milk slows). Store what you get and combine chilled portions from the same day.
Protecting supply if baby isn’t nursing yet: aim for 8–10 sessions/24 h (including overnight), double pump if possible, and include at least one session 1–5am.
Exclusive or near‑exclusive pumping: 15–20 minutes, double, roughly every 3 hours (7–8 sessions/24 h) once supply is established; adjust to comfort and output.
Power pumping (temporary boost): 20 min on / 10 off / 10 on / 10 off / 10 on, once a day for 3–4 days. Stop if you feel engorged or sore.
Cleaning, sterilising & safe handling
Before first use: sterilise all parts that contact milk (steam, boil, or sterilising solution per manufacturer).
After every use: rinse parts that touched milk in cool water, then wash in hot soapy water or dishwasher; air‑dry on a clean rack.
Sterilise daily during the newborn period or if your baby is premature/has specific medical advice.
Use a clean basin and brush reserved for pump parts; avoid sinks for soaking parts directly.
Wash hands before pumping; keep worktops clean; keep tubing dry (unless your model specifically allows washing it).
Storage & warming
(Always check your local NHS/Trust guidance — figures can vary slightly.)
Storage:
Room temperature (cool room, ~16–25°C): up to 4–6 hours; shorter in warm rooms.
Back of fridge (≤4°C): up to 3 days.
Freezer (−18°C or colder): best within 3 months, up to 6 months.
Use within 24 hours of moving from freezer to fridge.
Do not refreeze thawed milk. Discard leftovers from a feed within 2 hours of warming/starting the feed.
Warming & mixing
Warm gently in a jug of warm (not hot) water or a bottle warmer; never microwave.
It’s fine to combine smaller amounts expressed the same day once all portions are chilled to the same temperature.
Swirl to mix (don’t shake); a soapy smell may indicate high lipase — the milk is safe, but baby may refuse it. Scalding fresh milk before freezing can help if this is persistent.
Labels & transport
Label every container with date/time and volume; store in small portions (30–90 ml).
Transport in a cool bag with frozen ice packs; move to the back of the fridge on arrival.
Protecting supply without creating problems
Think demand = supply: replace feeds 1:1 with pumps if you’re skipping a breastfeed.
Watch for signs of oversupply (spraying let‑down, frequent engorgement, green frothy nappies) and reduce pumping gradually.
Gentle breast massage and a warm compress before pumping; cool afterwards if you feel full or tender.
Troubleshooting
Low output: check flange size and suction; add a morning session; try hands‑on pumping (compressions); stay hydrated.
Pain: stop and reassess size/settings; check for vasospasm or thrush if pain persists.
Condensation in tubing: run the pump for a minute after disconnecting to dry it.
Clogs: frequent comfortable drainage, anti‑inflammatory measures as advised by your GP, and rest.
Returning to work
Two weeks before: practise one bottle a day that someone else gives; keep it paced.
Build a small stash (6–10 feeds in the freezer is plenty to start).
Pack list: pump + spare parts, charger, wipes, milk bags/containers, labels, cool bag with ice packs, a soft bra or pumping bra.
Resources & Signposts
Find an IBCLC (International Board Certified Lactation Consultant)
